E36/46 M5x Clutch Installation Guide
Overview:
One of the most intimidating jobs for any new car enthusiast is replacing the clutch. BMW clutches although very easy to replace can sometimes be confusing to install. The biggest issue being clutch orientation as it is very easy to install a clutch backward, possibly ruining some components when you go to test it out and you'll have to do everything a second time. Don't worry! This article will go over the basics of installing a new clutch on your m5x engine!
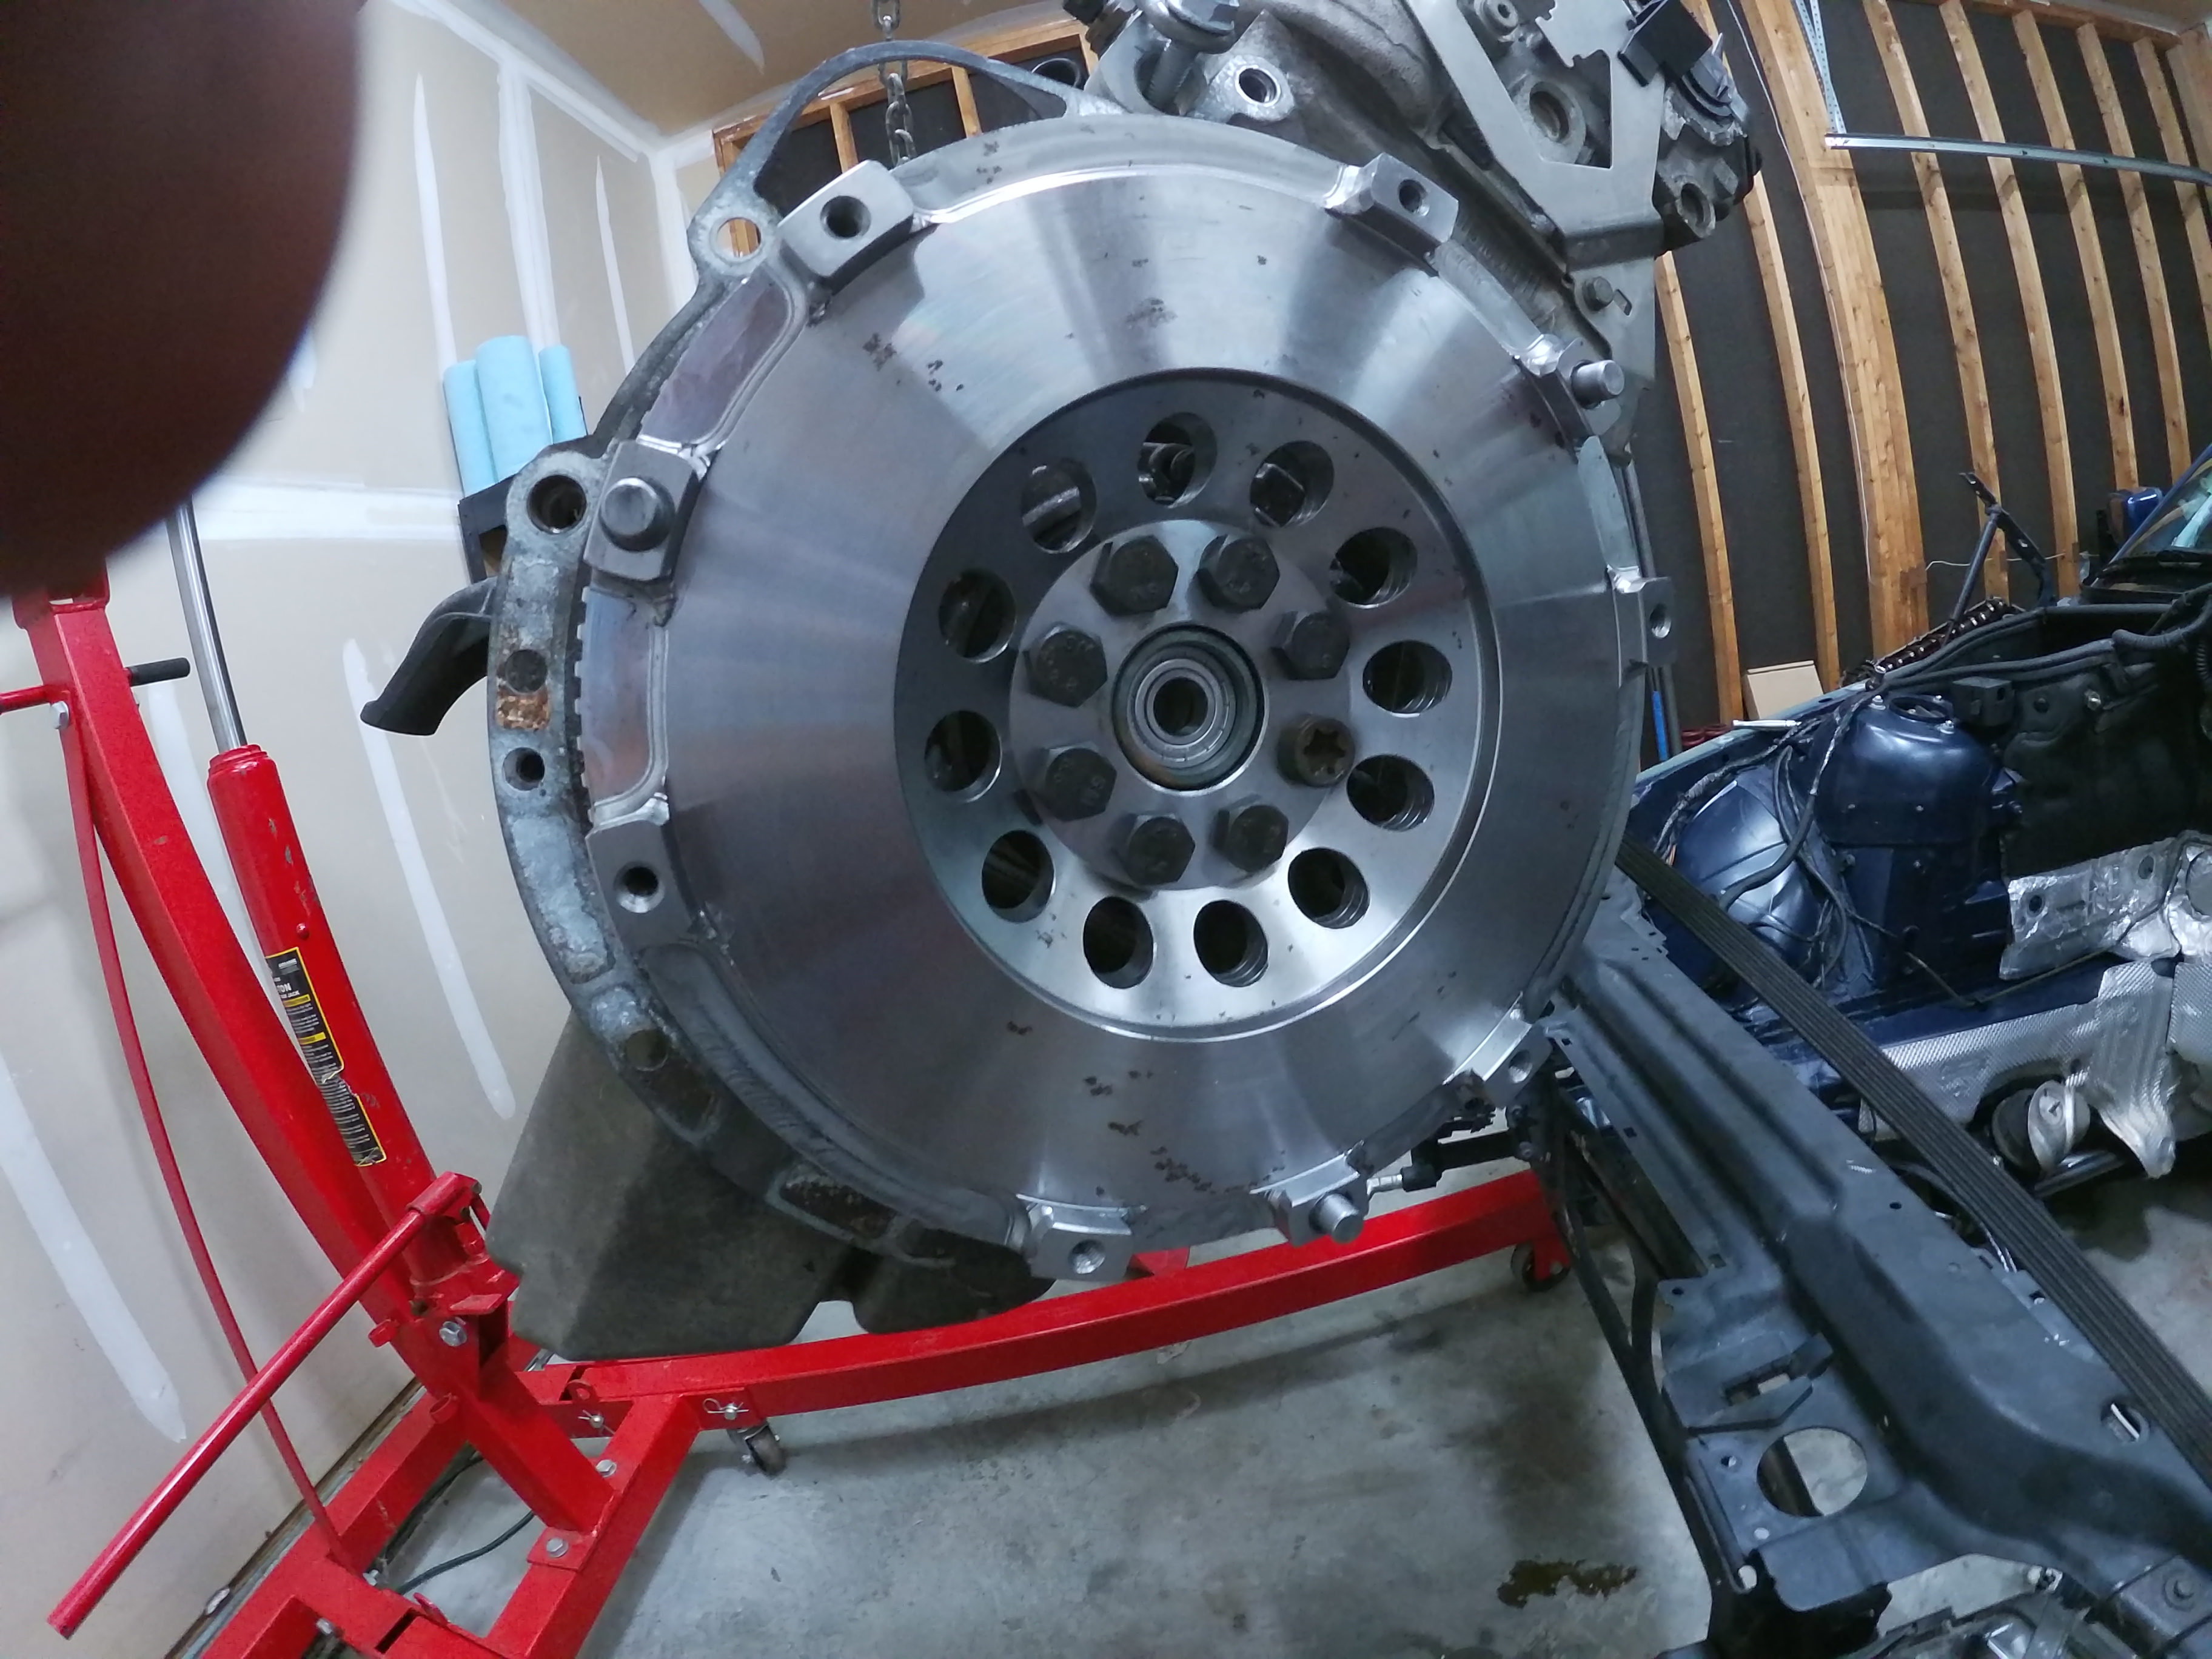
Flywheel
The flywheel is always the first to go one and can only be installed one way. The crankshaft has an alignment dowel that will ensure it is installed correctly. Next, you'll need to tighten the flywheel bolts. It is good practice to tighten these in a star pattern just like you would a wheel. Tighten the bolts down in a start pattern so they are snug and the flywheel sits flush against the crank. After that, you can go back and torque them down in a star pattern. The torque spec for flywheel bolts is 77ft/lbs. For those with OEM flywheels if available you can use the crankshaft locking tool to hold the flywheel in place while you torque down the bolts. If you are installing an aftermarket flywheel chances are it doesn't have the hole for the locking pin. If this is the case you'll need to have a friend hold the crankshaft in place by placing a 22mm socket and ratchet on the crankshaft pulley. Sometimes if your ratchet is long enough you can brace it on the frame rail. This will prevent the engine from turning while you torque the bolts.
Pilot Bearing
Installing the pilot bearing is easy, but removing an old one can be difficult. We will do a separate article on pilot bearing removal in the future. Once you have removed your old pilot bearing you will just need to use a 22mm or 23mm socket and a dead blow hammer. Gently tap the pilot bearing into the crankshaft until it is about 1/8" in. That's all you need to do. There's no need to hammer it down as far as you can. This will only make removing it harder in the long run.
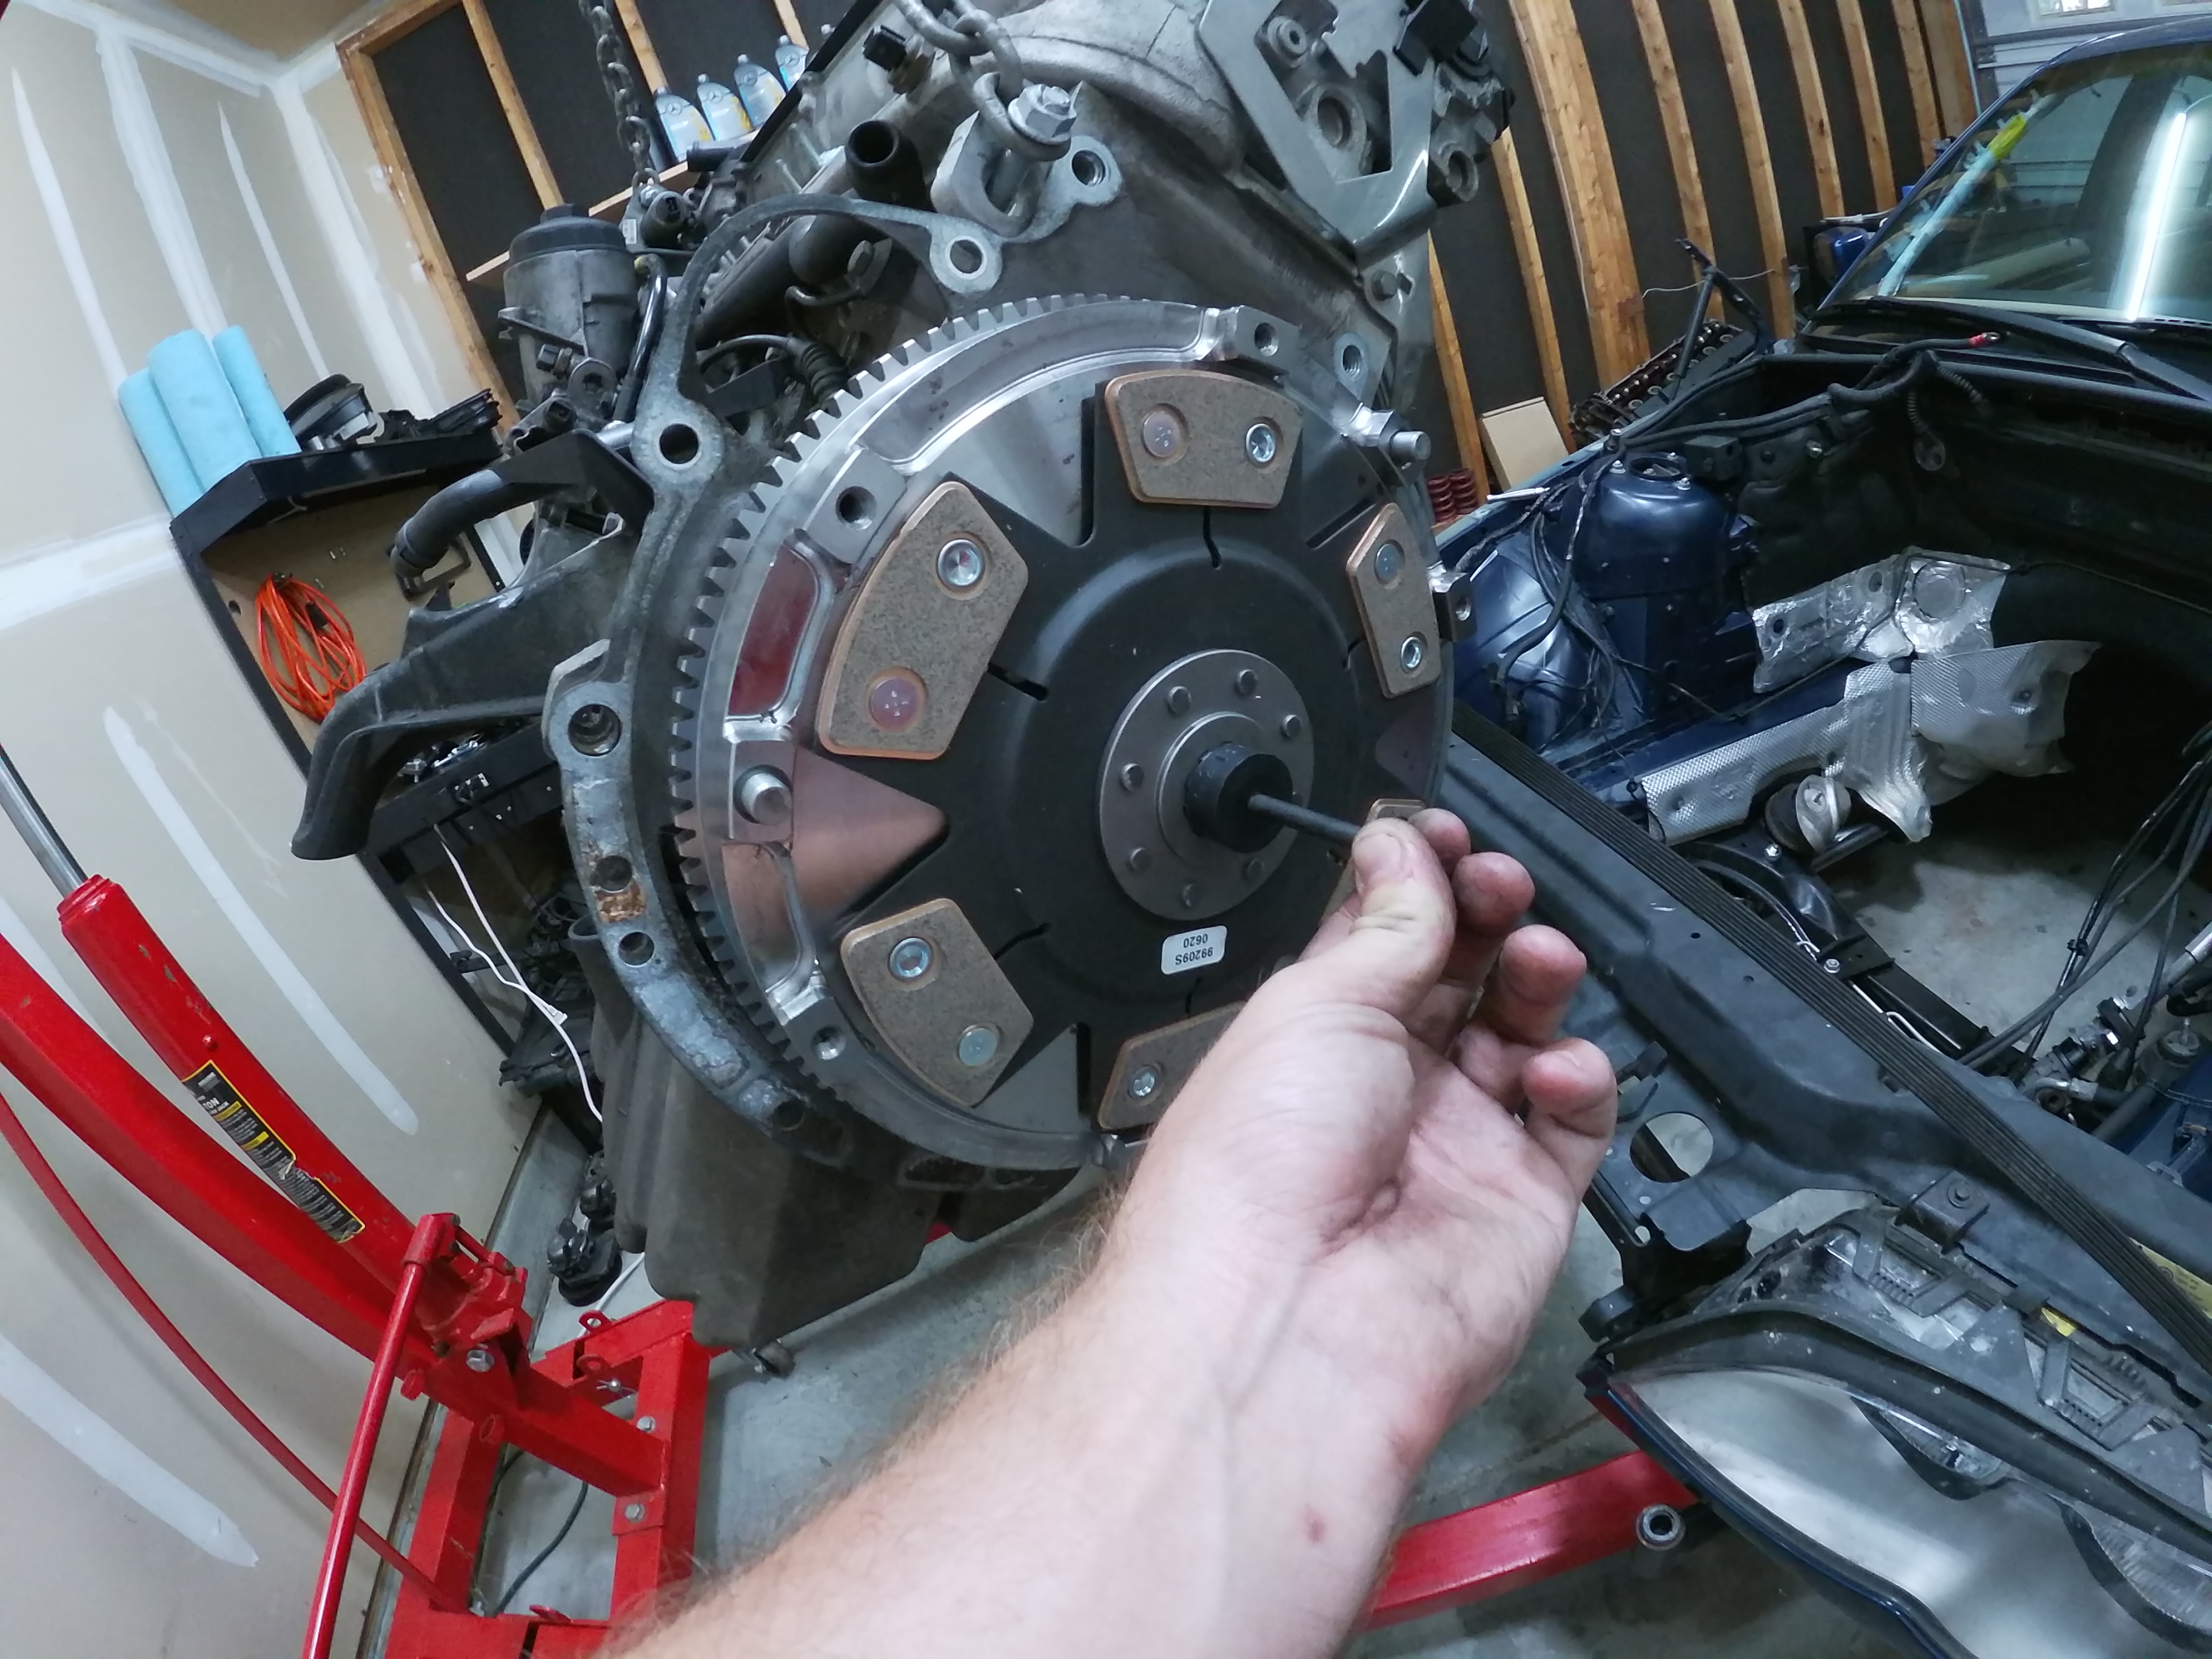
Clutch Disk Orientation
Here is where the biggest mistake can happen. If you didn't take note of how your old clutch was oriented when it came off the chances of installing it backward are pretty high. All OEM clutches have a stamp or sticker indicating which way the clutch needs to be oriented. It will say "flywheel side" or "gearbox side." Simply install the clutch in the indicated direction. Most aftermarket clutches do not come labeled and as a result, many people install them backward. Below you will see a picture of how to properly orient the clutch when installing. The longer end of the snout always faces towards the engine. If improperly installed the clutch will not be able to fully disengage and starting the vehicle can damage your brand new clutch and possibly the transmission.

Clutch Disk Installation
Once you have determined the correct orientation of your clutch you will need to grab your clutch alignment tool. This is used to ensure the clutch disk is centered so that the transmission input shaft can slide in without issue. Slide the clutch alignment tool through the clutch disk and insert it into the pilot bearing. Slide the clutch forward until it contacts the flywheel and you're ready to move on.
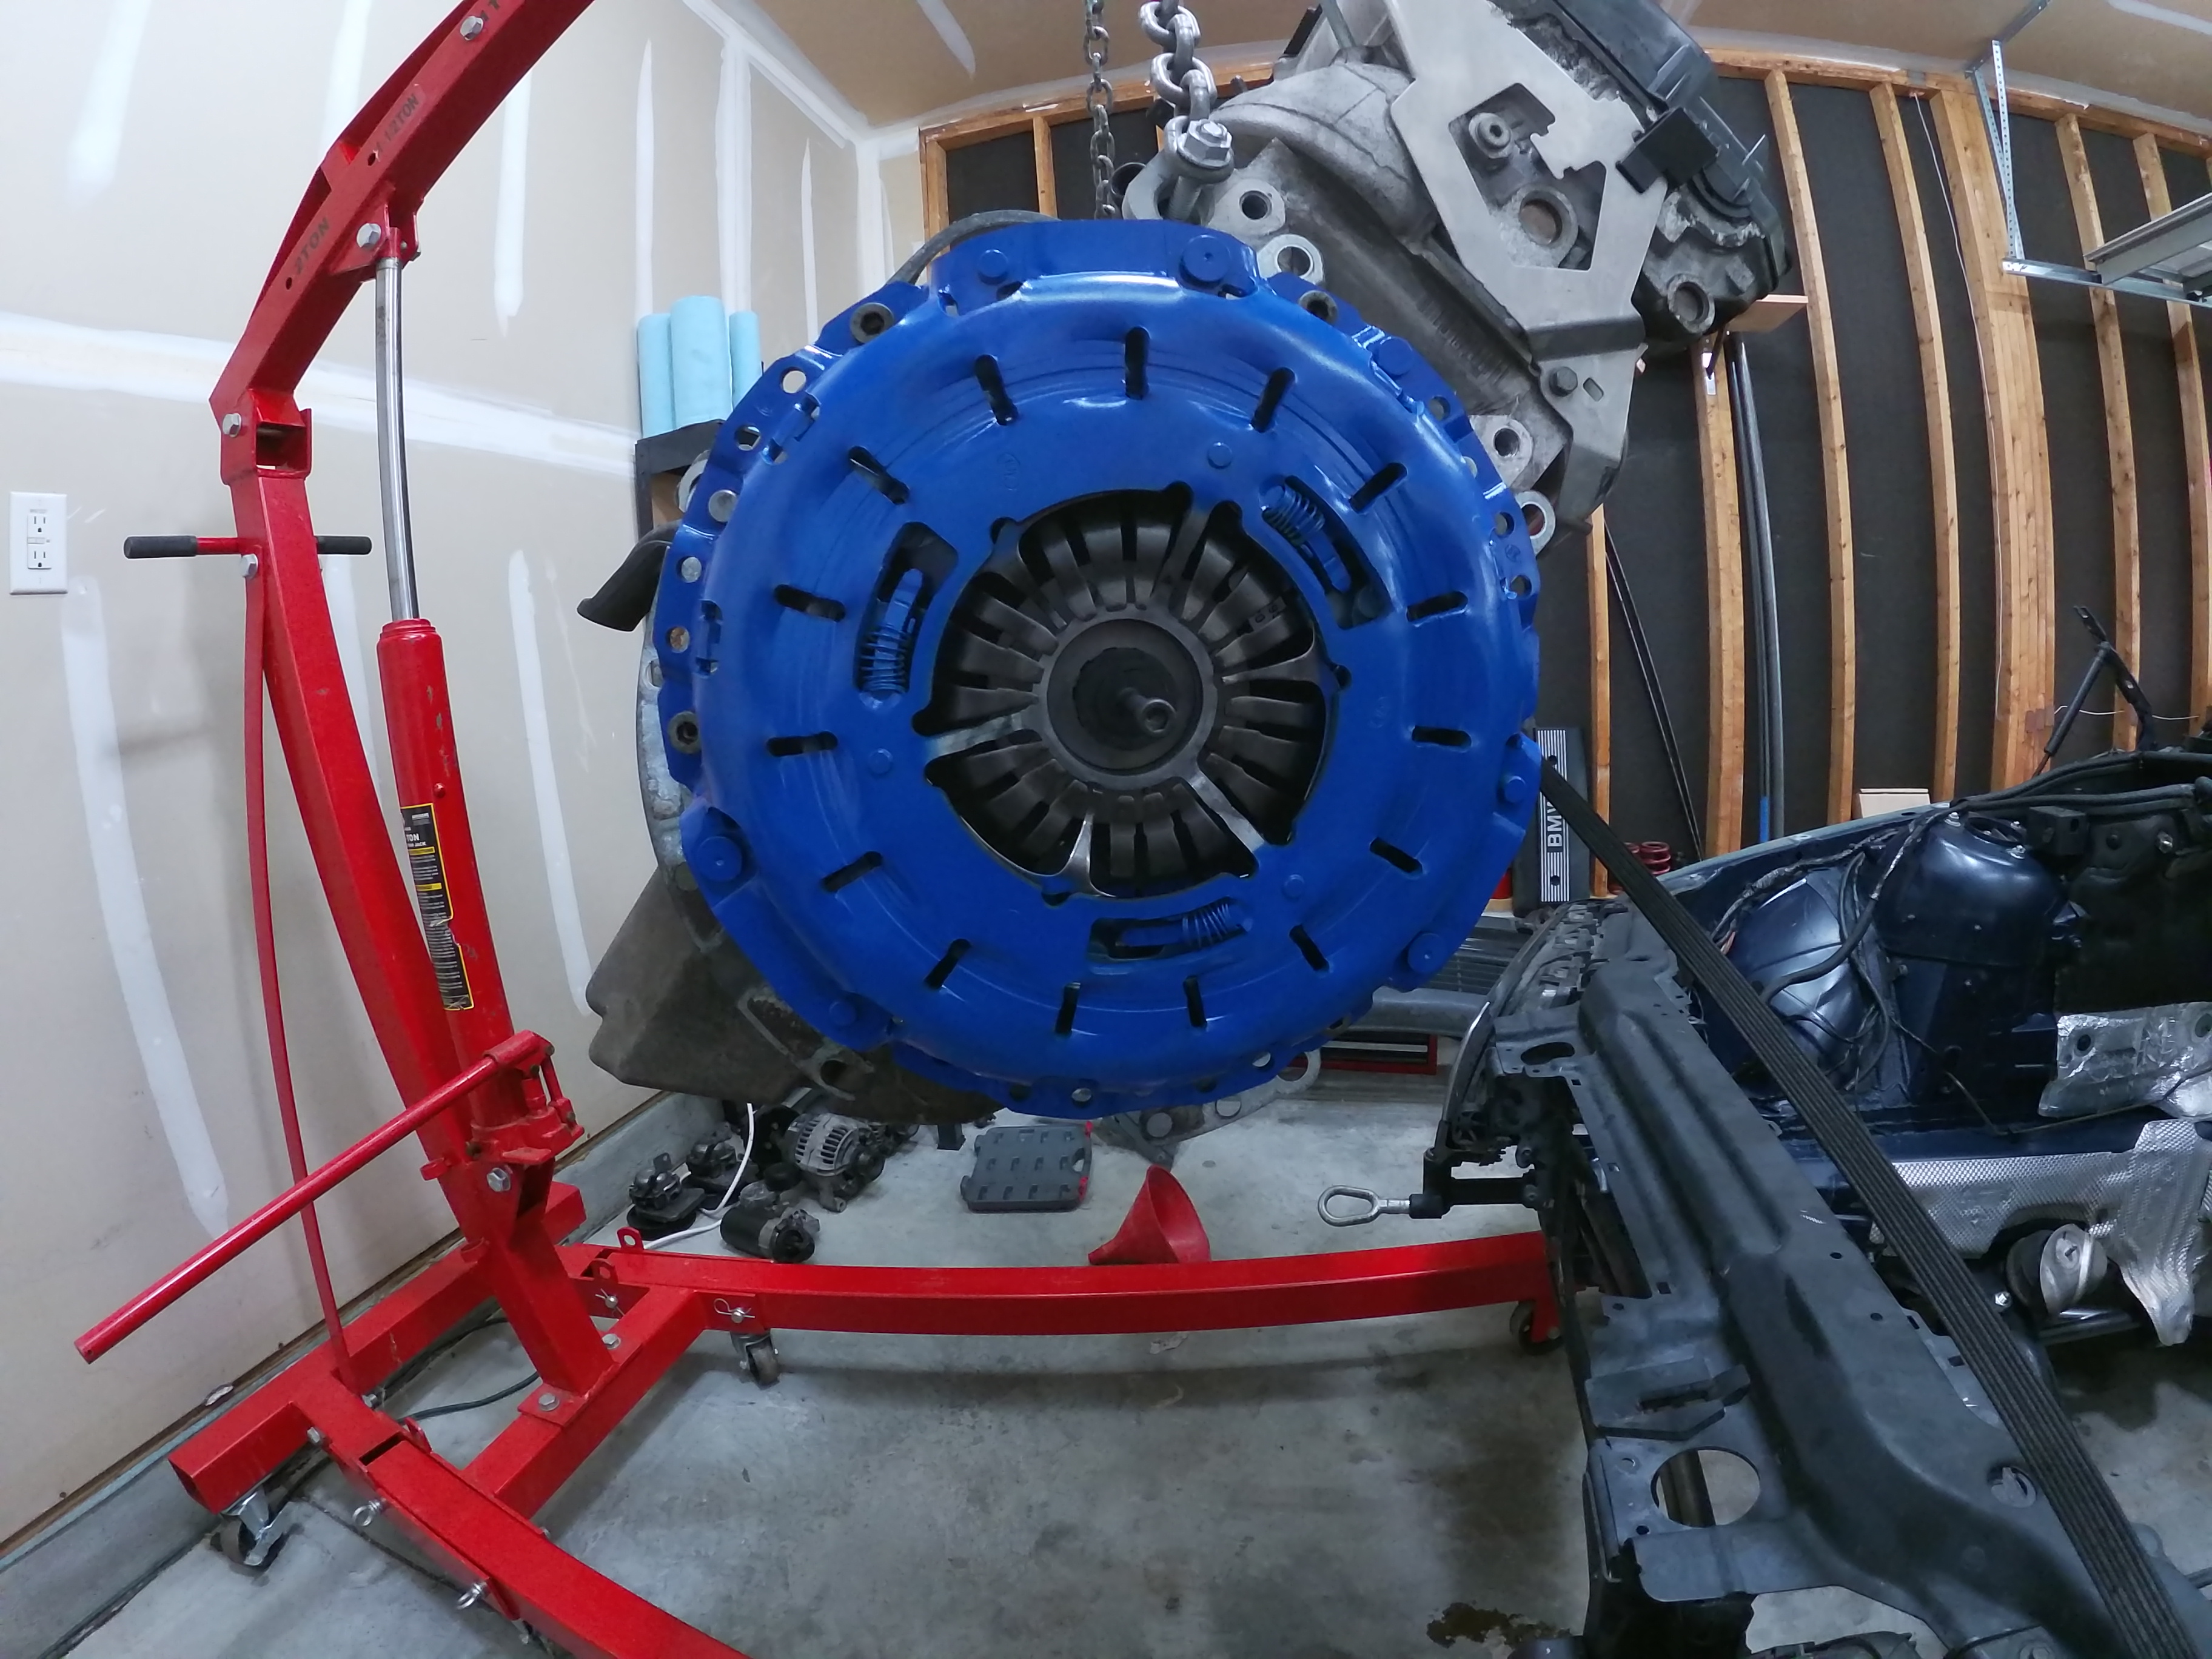
Pressure Plate
For vehicles without a self-adjusting flywheel, simply install the pressure plate over the alignment tool. If you have a self-adjusting clutch you will need to take a few extra steps. These will be listed below. Installing the pressure plate is as simple as lining it up with the dowels on the flywheel. Simply slide the pressure plate over the dowels and insert the clutch pressure plate bolts to hold it in place. Next, using the same start pattern tighten the bolts down so that the pressure plate is evenly pressed down onto the flywheel. Once you have snugged these bolts up you will be ready to torque them down. The tightening torques for the pressure plate are 18 ft/lbs for grade 8.8 bolts and 25 ft/lbs for grade 10.9 bolts.
Steps for a self-adjusting pressure plate
- Insert clutch alignment tool into clutch and place clutch on the flywheel.
- Slide pressure plate over the alignment tool and tighten down using the same steps as listed above.
- Unscrew small shaft from clutch alignment tool and remove
- Using H14 socket release the center compression plate holding the pressure plate teeth down.
- Remove the compression plate.
- Remove the second section of the clutch alignment tool.
Once you've removed the clutch alignment tool you should be all set to install your transmission. Make sure to lubricate the transmission alignment dowels and the transmission input shaft. Once everything is back together make sure to pump the clutch several times to ensure it has seated correctly. For self-adjusting clutches, this will also help get the adjustment locks in to place so your first clutch engagement will be smooth.
Comments
0 comments
Please sign in to leave a comment.